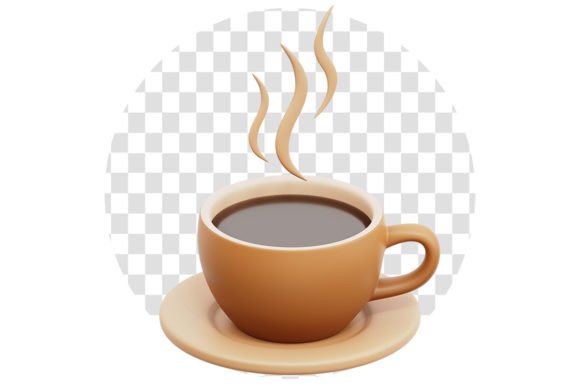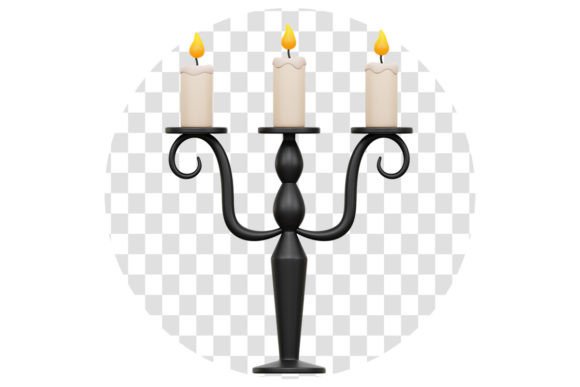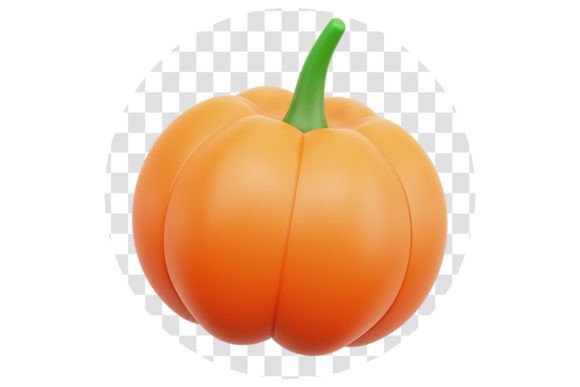
Elevate Your UI/UX Designs with High-Quality Pumpkin 3D Icons and a Professional Graphic Designer Toolset
In the rapidly evolving landscape of digital design, static flat illustrations are increasingly giving way to immersive, tactile experiences. As users interact with more sophisticated interfaces on landing pages, mobile applications, and web platforms, the demand for depth, realism, and visual interest has never been higher. This shift has placed 3D icons at the forefront of modern graphic design toolsets. Among the myriad of themes available, seasonal and thematic elements like Pumpkin 3D icons offer a unique opportunity to inject personality and warmth into projects, particularly for autumn campaigns, Halloween promotions, or harvest-themed branding. However, the true value lies not just in the subject matter, but in the quality and flexibility of the assets themselves.
The Strategic Value of 3D Assets in Modern Web Design
Why are designers increasingly turning to 3D renders over traditional 2D vectors? The answer lies in human perception. Our brains are wired to understand depth, lighting, and texture. When a user lands on a website featuring high-quality 3D elements, the interface feels more tangible and engaging. This is especially critical in UI/UX design, where the goal is to guide the user effortlessly through a journey. A well-placed 3D icon can serve as a focal point, drawing attention to a call-to-action button or explaining a complex feature through visual metaphor.
Consider a landing page for a food delivery service during the fall season. Replacing a standard flat pumpkin illustration with a high-quality render that features realistic skin texture, subtle subsurface scattering, and dynamic lighting can transform the entire mood of the page. It signals professionalism and attention to detail. Furthermore, 3D assets provide consistency across different screen sizes and resolutions, maintaining their crispness whether viewed on a retina display or a standard mobile screen.
Understanding the Technical Specifications: Why 3000x3000 Pixels Matters
When sourcing assets for your graphic designer toolset, resolution is paramount. Many free or low-cost resources offer images that are barely sufficient for web use, often resulting in pixelation when scaled or compressed. A professional-grade asset pack should offer High-Quality Renders at 3000x3000 pixels. But why this specific resolution?
- Future-Proofing: As display technologies advance, the need for higher resolution assets grows. A 3000px image ensures your design looks sharp on 4K monitors and high-density mobile screens.
- Cropping Flexibility: High resolution allows you to crop the image to focus on specific details of the pumpkin or icon without losing clarity. You might want to isolate the stem or a specific curve for a background pattern.
- Print Readiness: While primarily designed for web and UI, having print-ready resolution means these assets can seamlessly transition to marketing materials like brochures or posters if the campaign expands offline.
This level of detail ensures that every shadow, highlight, and texture map contributes to a polished final product, enhancing the overall perceived value of your brand.
The Power of Customization: Editing Color and Texture in Blender
One of the most significant misconceptions about using pre-made 3D assets is that they are rigid and unchangeable. In reality, the most valuable toolsets are those that empower designers to adapt the content to their specific brand guidelines. This is where the inclusion of a Blend File becomes a game-changer.
Blender is a powerful, open-source 3D creation suite used by professionals worldwide. When your asset pack includes the native Blender file, you gain complete control over the scene. For instance, if your brand colors are orange and teal, but the default pumpkin render is a traditional deep orange, you can easily adjust the material nodes to match your palette.
How Easy is it to Change Colors and Textures?
For those new to 3D software, the prospect of opening a .blend file might seem daunting. However, modern asset packs are designed with usability in mind.
- Material Nodes: Most professional files utilize organized shader nodes. Changing the color often requires nothing more than adjusting a "Base Color" picker or tweaking a hue/saturation value.
- Texture Swapping: Want a cartoonish pumpkin instead of a realistic one? Or perhaps a metallic gold finish for a luxury event? With an organized layer structure, you can swap texture maps instantly.
- Lighting Control: Beyond the object itself, you can modify the lighting environment to match the time of day or the mood of your landing page, ensuring the shadows fall exactly where you need them.
This flexibility ensures that the asset doesn't just fit your project; it becomes an integral, custom part of your design identity. It bridges the gap between stock photography and bespoke 3D modeling, saving hours of modeling time while retaining full creative freedom.
Streamlining Your Workflow with Organized Layers and Ready-to-Use Files
Time is the most scarce resource for any graphic designer. A disorganized file structure can turn a simple task into a hours-long troubleshooting session. A premium graphic designer toolset prioritizes workflow efficiency through Organized Layers and a comprehensive file package.
When you download a high-quality pack, you should expect a trio of essential formats: Blend, PNG, and PSD. Each serves a distinct purpose in the design pipeline:
1. The Blend File (The Source)
As discussed, this is your master key. It contains the 3D geometry, materials, lighting, and camera settings. It is the source of truth for any major structural or textural changes.
2. The PNG File (The Immediate Asset)
Not every project requires 3D editing. Sometimes, you just need a transparent image to drop into Figma, Sketch, or Adobe XD. High-resolution PNGs with transparent backgrounds allow for immediate implementation. These are perfect for rapid prototyping or when the design direction is already finalized.
3. The PSD File (The Compositor's Dream)
Adobe Photoshop remains a staple for many designers. A well-prepared PSD file goes beyond a simple flattened image. It should include organized layers separating the subject (the pumpkin) from shadows, highlights, and background elements. This allows for non-destructive editing. You can adjust the opacity of the shadow, apply color grading to specific parts of the icon, or add noise and grain effects without affecting the main render.
Practical Applications in UI/UX and Landing Pages
Integrating these assets into your work can elevate various types of projects. Let's explore a few scenarios where a Pumpkin 3D icon or similar high-quality 3D element makes a tangible difference.
E-Commerce Promotions: During the fall season, online stores can use these renders to create thematic banners. The depth of the 3D object makes the product pop against flat backgrounds, increasing click-through rates.
SaaS Onboarding: Software companies often struggle to make dry data look interesting. Using 3D icons to represent features (e.g., a pumpkin representing "growth" or "harvesting data") can make onboarding flows more delightful and memorable.
Mobile App Interfaces: In app design, 3D icons can serve as navigation elements or reward badges. The tactile nature of 3D renders encourages interaction, making the user experience feel more responsive and gamified.
Avoiding Common Pitfalls
While 3D assets are powerful, they must be used judiciously. A common mistake is overcrowding the interface. Because 3D renders are visually heavy, they should be used as accents rather than the primary content. Ensure that the lighting in your 3D assets matches the overall lighting direction of your website to maintain visual coherence. Additionally, always optimize your PNG exports for web performance to ensure fast loading times, even if the source file is a massive 3000x3000 pixels.
Conclusion: Investing in Quality for Long-Term Success
In conclusion, the integration of High-Quality 3D icons into your graphic designer toolset is more than just a trend; it is a strategic move towards creating more engaging, professional, and versatile designs. Whether you are crafting a festive landing page with pumpkin themes or building a robust UI system, the ability to access 3000x3000 px renders, edit textures in Blender, and utilize organized PSD layers provides an unparalleled advantage.
By choosing assets that offer both immediate usability (PNG/PSD) and deep customization (Blend), you future-proof your workflow and ensure that your designs stand out in a crowded digital marketplace. Remember, great design is not just about what you create from scratch, but also about how intelligently you leverage the tools and resources available to you. Embrace the depth of 3D, and watch your projects come to life.