Mastering the Movie PSD 3D Editable Text Effect for Professional Designs
Imagine spending hours trying to replicate a cinematic title sequence in Photoshop, only to end up with flat, unconvincing lettering that lacks depth and drama. This is a common frustration for designers, marketers, and content creators who need high-impact visuals but lack the time to master complex 3D rendering tools. The solution often lies in leveraging pre-made assets like the Movie PSD 3D Editable Text Effect. These resources are designed to bridge the gap between amateur attempts and professional-grade results, allowing you to achieve stunning typography with just a few clicks. However, simply downloading a file is not enough; understanding how to properly utilize these smart object-based templates is crucial for maintaining quality across different mediums.
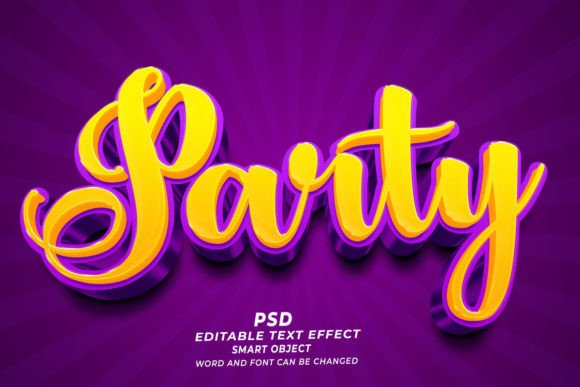
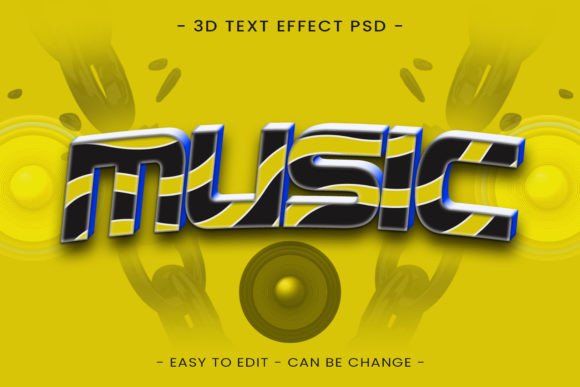
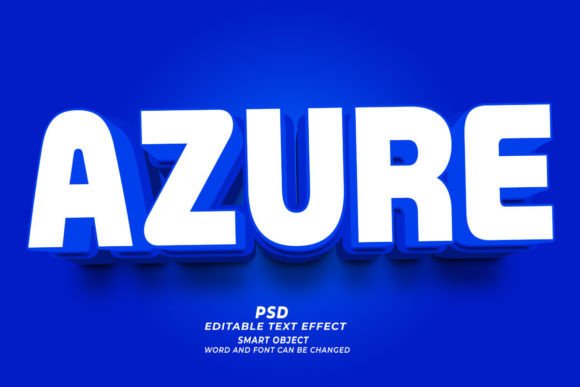
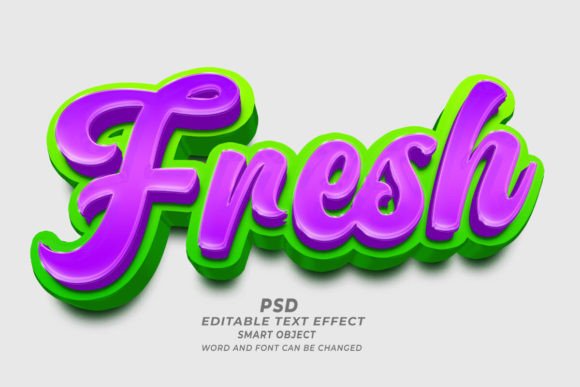
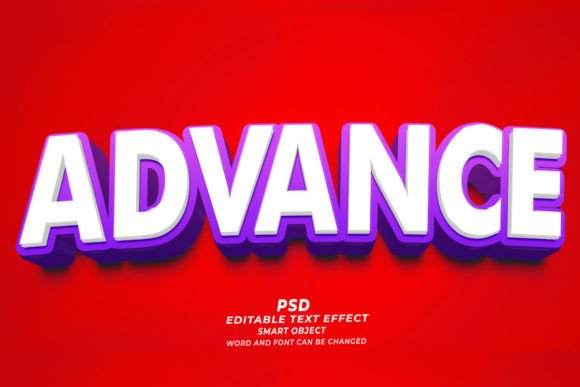
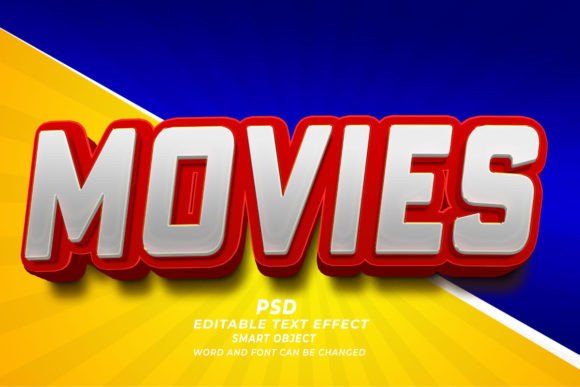
At its core, a Movie PSD 3D editable text effect with background is a sophisticated Photoshop file where the heavy lifting of lighting, shading, texture mapping, and perspective has already been done by an expert. You simply open the file, locate the smart object layer, replace the placeholder text with your own, and save. The magic happens automatically as the software applies the complex 3D settings to your new input. This workflow is incredibly versatile, supporting everything from standard text and vector shapes to custom logos. Whether you are designing a website header, a web banner, print templates, T-shirt graphics, POD (Print on Demand) products, KDP book covers, or general marketing materials, these effects provide a consistent, high-resolution foundation.
Despite their ease of use, many users make critical errors that undermine the potential of these tools. One of the most frequent misunderstandings involves resolution and scaling. A common mistake is assuming that because a file is labeled "editable," it can be stretched to any size without consequence. While these templates often come in high resolution, such as 300 DPI, pulling a small web banner asset and attempting to use it for a large format print like a billboard or a trade show backdrop will result in pixelation and loss of detail. Before you begin any project, always check the document dimensions and resolution settings. If your project requires a larger output than the template provides, it is better to find a version specifically sized for print or recreate the effect at the required dimensions rather than forcing a small file to do a big job.
Another area where beginners often stumble is font compatibility. When you edit the smart object, the text effect relies on the specific font installed on your system to render correctly. If you type your headline using a font that differs significantly in weight or width from the original design, the 3D extrusion and lighting may look awkward or broken. For instance, a thin sans-serif font might disappear into the shadows of a style designed for bold, blocky cinema titles. To avoid this, take a moment to analyze the original typography. If the effect looks best with heavy fonts, stick to bold typefaces. If you must use a specific brand font that doesn't match the template's vibe, consider adjusting the tracking, leading, or even the scale of the text within the smart object to ensure it sits comfortably within the 3D space.
Furthermore, there is a tendency to overlook the background integration when using a Movie PSD 3D Editable Text Effect. Many templates come with a预设 background to showcase the effect, but users sometimes forget to isolate the text layer when placing it onto their own unique backgrounds. Simply dragging the entire group into a new composition can bring along unwanted drop shadows, ambient occlusion maps, or color overlays that clash with your existing design. The correct approach is to open the smart object, make your text changes, save, and then carefully examine the layer stack in the main document. Ensure you are only utilizing the necessary rendered layers and that the blending modes are appropriate for your specific background color and texture. This attention to detail ensures the text looks like it belongs in your scene rather than appearing pasted on top.
Efficiency is another key factor. Some users treat these files as one-off solutions, editing them manually every single time they need a variation. This defeats the purpose of having 100 editable words, fonts, and sizes available at your fingertips. A more professional approach is to set up a library of your most used variations. Once you have perfected a specific look for your brand—perhaps a gold metallic style for headlines and a gritty stone texture for subheaders—save these as distinct master files. This allows you to maintain brand consistency across your marketing materials, T-shirts, and book covers without reinventing the wheel for every new campaign. It transforms the tool from a simple shortcut into a scalable part of your design workflow.
It is also important to address the misconception regarding "click and edit" simplicity. While the process is streamlined, it still requires a basic understanding of Photoshop's interface. Users who are entirely new to the software might struggle to locate the smart object icon or understand why they need to double-click a specific thumbnail. If you find yourself stuck, remember that the smart object is essentially a container. Double-clicking it opens a separate window where you can type your text. Once you hit save (Ctrl+S or Cmd+S) in that window, the main document updates instantly. There is no need to re-render or apply filters manually. Embracing this non-destructive workflow saves immense amounts of time and allows you to experiment with different copy lengths risk-free.
When evaluating which template to download or purchase, look beyond the preview image. Check the file size and the complexity of the layer structure. A well-organized PSD will have clearly named layers, grouped logically, making it easier to tweak colors or lighting if you have intermediate Photoshop skills. Poorly organized files can become a nightmare to navigate, especially if you need to adjust the light source direction or change the material properties. High-quality assets usually include instructions or a readme file explaining any specific font requirements or recommended usage scenarios. Taking five minutes to read these notes can prevent hours of troubleshooting later.
Ultimately, the goal of using a Movie PSD 3D editable text effect with background is to elevate your visual communication. Whether you are an entrepreneur launching a new product, a blogger creating eye-catching social media graphics, or a freelancer delivering assets to a client, the quality of your typography speaks volumes about your professionalism. By avoiding common pitfalls related to resolution, font choice, and layer management, you ensure that the final output is crisp, cohesive, and impactful. These tools are powerful allies in the creative process, but they yield the best results when handled with intention and a clear understanding of their mechanics. So, next time you need to create a stunning headline, skip the hours of manual modeling and leverage these smart, efficient resources to bring your vision to life with cinematic flair.